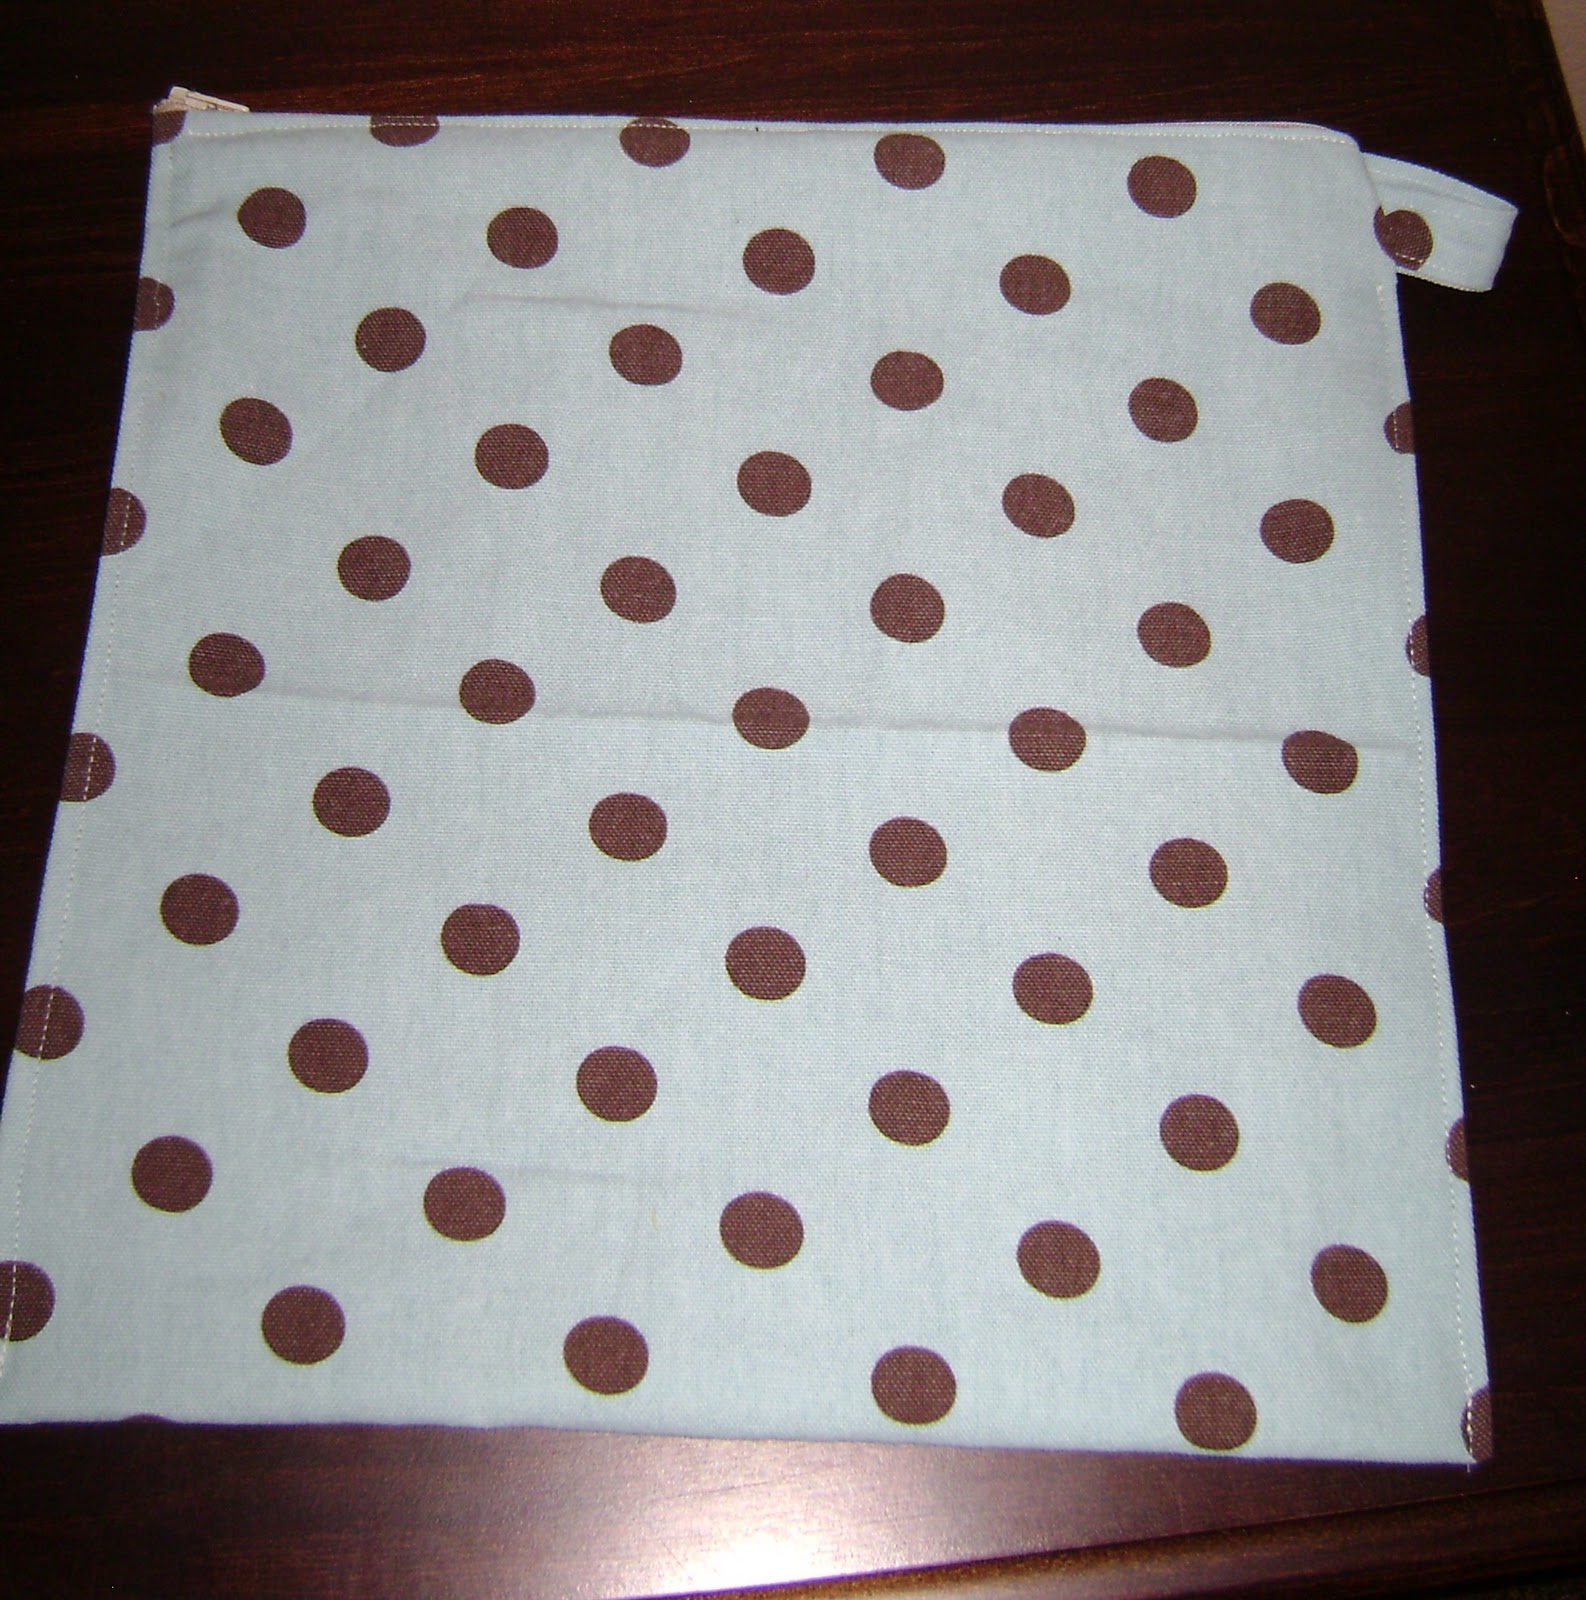
I wanted a wet bag that would hold several diapers since one that I purchased a year ago only holds 1 to 2 cloth diapers just wasn't cutting it. I used all material that I had on hand: a thicker decorative fabric, PUL and a zipper. I bought this lime green PUL a few months ago at JoAnn's, but I haven't made many pockets from it since there have been lots of reports on Diaper Swappers that there has been multiple delaminating issues. However, everyone is saying that the white PUL for sure hasn't had any issues. If you are only needing a little PUL this is a great way to get some and not have to pay for shipping.
I had a 12 inch zipper on hand so I decided to make a 12 x 12 wet bag. I added an extra inch for my seam allowances so I cut both fabrics to 13 x 25. I always need a little more extra room for seam allowances for mistakes. The shiny layer on the PUL needs to be on the inside of the bag.

Lay your zipper face down on the print side about 1/2 inch from edge and pin.

Start sewing the zipper onto the material where the metal part of the zipper is. Do not sew in the "tail end".

Showing where I left the tail un-sewn. You may have to slide down the zipper to sew up far enough because it will be in the way of the foot. then slide the zipper back up.

Flip zipper over and top stitch.

Pin the other side of the zipper to the other end of fabric. Sew just like you did on the first side, making sure to leave the tail of the zipper un-sewn. Then you will turn bag right side out and top stitch the other side.

Next, you need to make a handle for your wet bag. I really didn't make mine big enough. Fold raw edges in, press your material and then sew.


Now we are going to sew up the sides! Turn your bag wrong side out again and lay the handle inside the bag and pin in place. Make sure you keep some of the edges poking out so that it can be securely sewn into the wet bag.


Before you pin up the sides, unzip the zipper completely (my photo doesn't show this). Pin close to the ends of the metal zipper. We want to sewn in those loose tail ends.


Then sew both ends close. Sew as close as you can to where the metal zipper starts and ends so the bag will have a good "seal." Turn bag right side out and top stitch both sides. This will make it look better and give more stability to the bag. You are Done!


2 comments:
Thanks for the tutorial. I wish the JoAnn in our area carried PUL. We were looking for it to make bibs, but couldn't find it so we ended up using pleather!
I have "instructions" that came with the pattern my aunt gave me for diapers. It isn't very descript. Thanks for explaining the zipper. I've never sewn one either. Now I've got to make some me time to get caught up on my sewing projects! :o)
I will email you pictures of the mama cloth you asked about so you can add them to your sewing list.
Post a Comment